Getting Started
Three minutes from opening the app to a garden tuned to where you live.
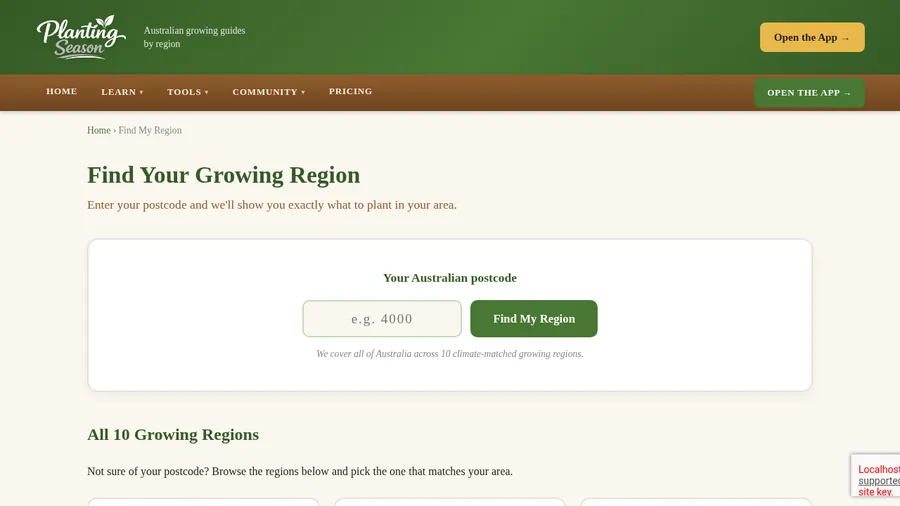
1. Set your region
Everything in Planting Season is tuned to your local climate, so the first thing to do is tell it where you are. On the website, use Find My Region and enter your postcode. In the app, pick your region from the selector at the top. From then on, every planting calendar, sowing date and seasonal job is the right one for your area.
2. Free vs Pro
Free gives you one garden bed, the full plant library, and all the website guides. Pro unlocks unlimited beds, cloud sync across devices, the harvest tracker, and the homestead modules (Flock, Bees, Worms). Pro is a one-off price, not a subscription.
3. Install it on your phone
Planting Season is a web app, so there is no app store and no download wait. Open it in your phone’s browser, then:
- iPhone (Safari): tap the Share button, then “Add to Home Screen”.
- Android (Chrome): tap the menu (three dots), then “Install app” or “Add to Home Screen”.
It then opens full-screen like any app, and keeps working offline in the garden where signal is patchy.
4. Add your email (optional but worth it)
Your garden is saved on your device. Add your email in settings and it also backs up to the cloud, so you can open the same garden on your phone and your computer, and never lose it if you clear your browser.
What to plant, plus flock and hive jobs for the month, in one short email. No spam.